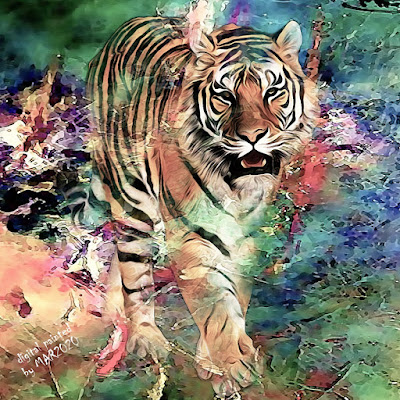
When I was surfing the internet I came across a picture of a wild animal that really caught my attention, i.e. a calm walking tiger, and you can find the image here. Then I thought that the image would be more interesting if it was painted digitally. the painting that I have produced is like the image above in my post this time.
How do I create the digital painting of the tiger? The methods I used are as follows
- Image size used 1380 px; 1380 px, resolution 300 ppi
- I use the technique: acrylic painting effect using photoshop
- I use a multi-layer + layer mask (background, walking tiger)
- For the background create an acrylic painting effect using the acrylic effect brush tools
- For the background using a single layer, the blending mode used is normal mode (opacity 100%)
- For the walking tiger using 2 layers, the blending mode used is normal mode (opacity 100%) + overlay (opacity 72%)
- For each image uses the filter - noise - greyCstoration, after that use the filter - artistic - watercolor
- Use the acrylic effect brush tools for layer masks
- Then sharpen each image using the filter - sharpen - smart sharpen
- Lighting effects using brightness and contrast (with contrast -33, and brightness 75)
- Color effects using vibrance (with vibrance 0, and saturation -30)
Please mind, the method used as mentioned above really depends on how your creativity are.
Previous
« Prev Post
« Prev Post
Next
Next Post »
Next Post »
